Using MetaX C500 GPUs
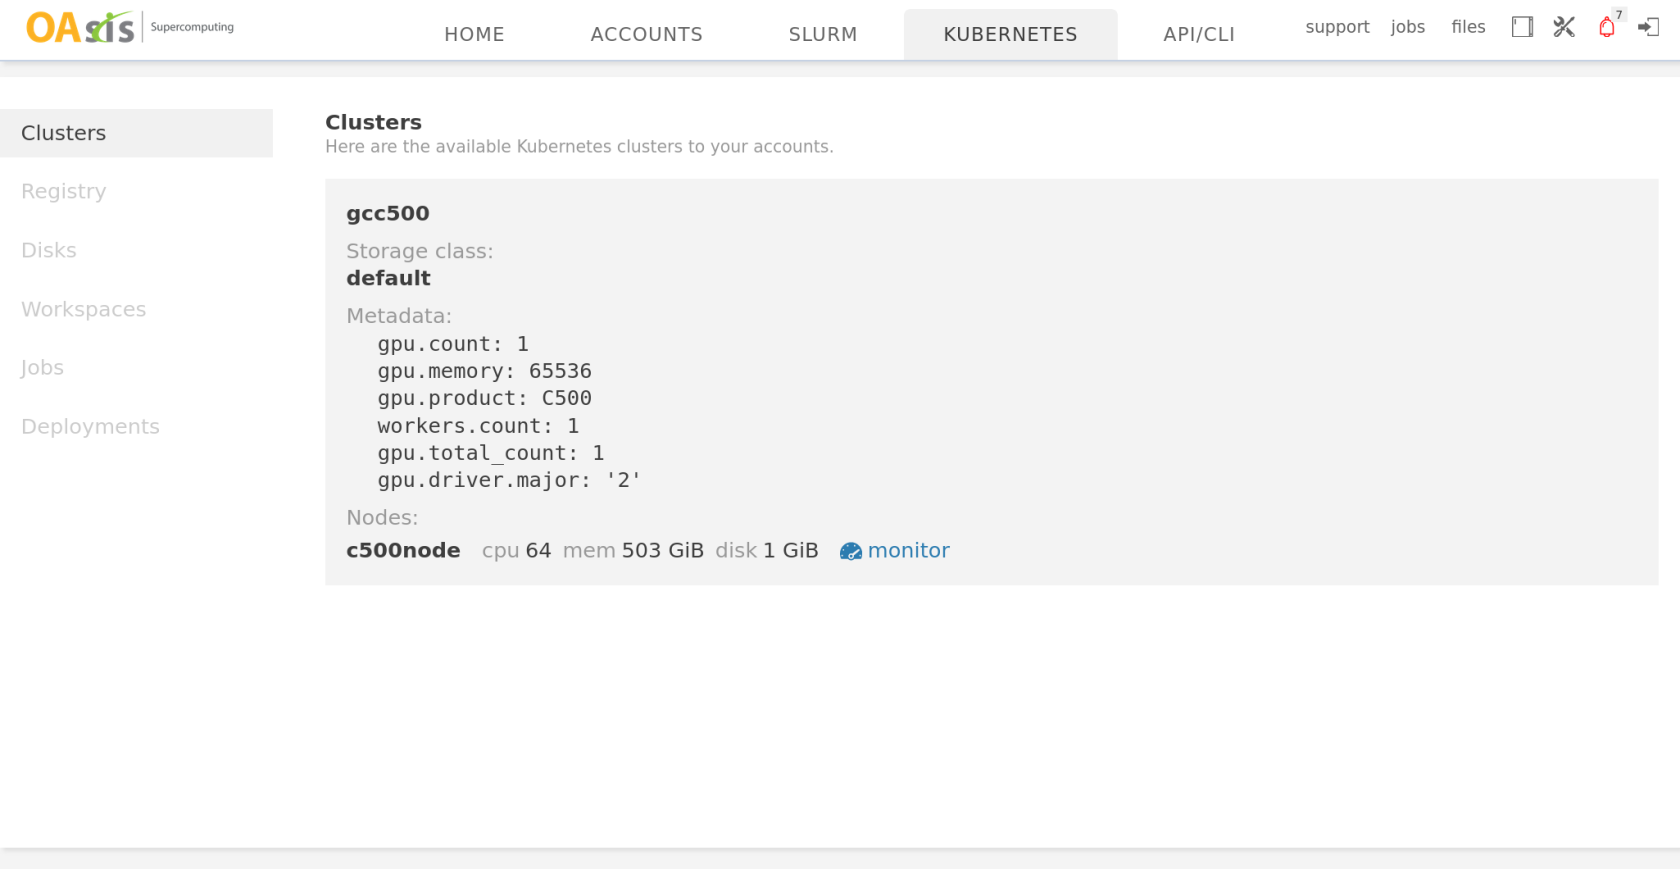
Currently, OAsis HPC is connecting with one Kubernetes cluster (gcc500), which has one compute node and is equipped with 2 MetaX C500 GPUs. This guide walks through how to request and utilize MetaX C500 GPUs on the platform by examples.
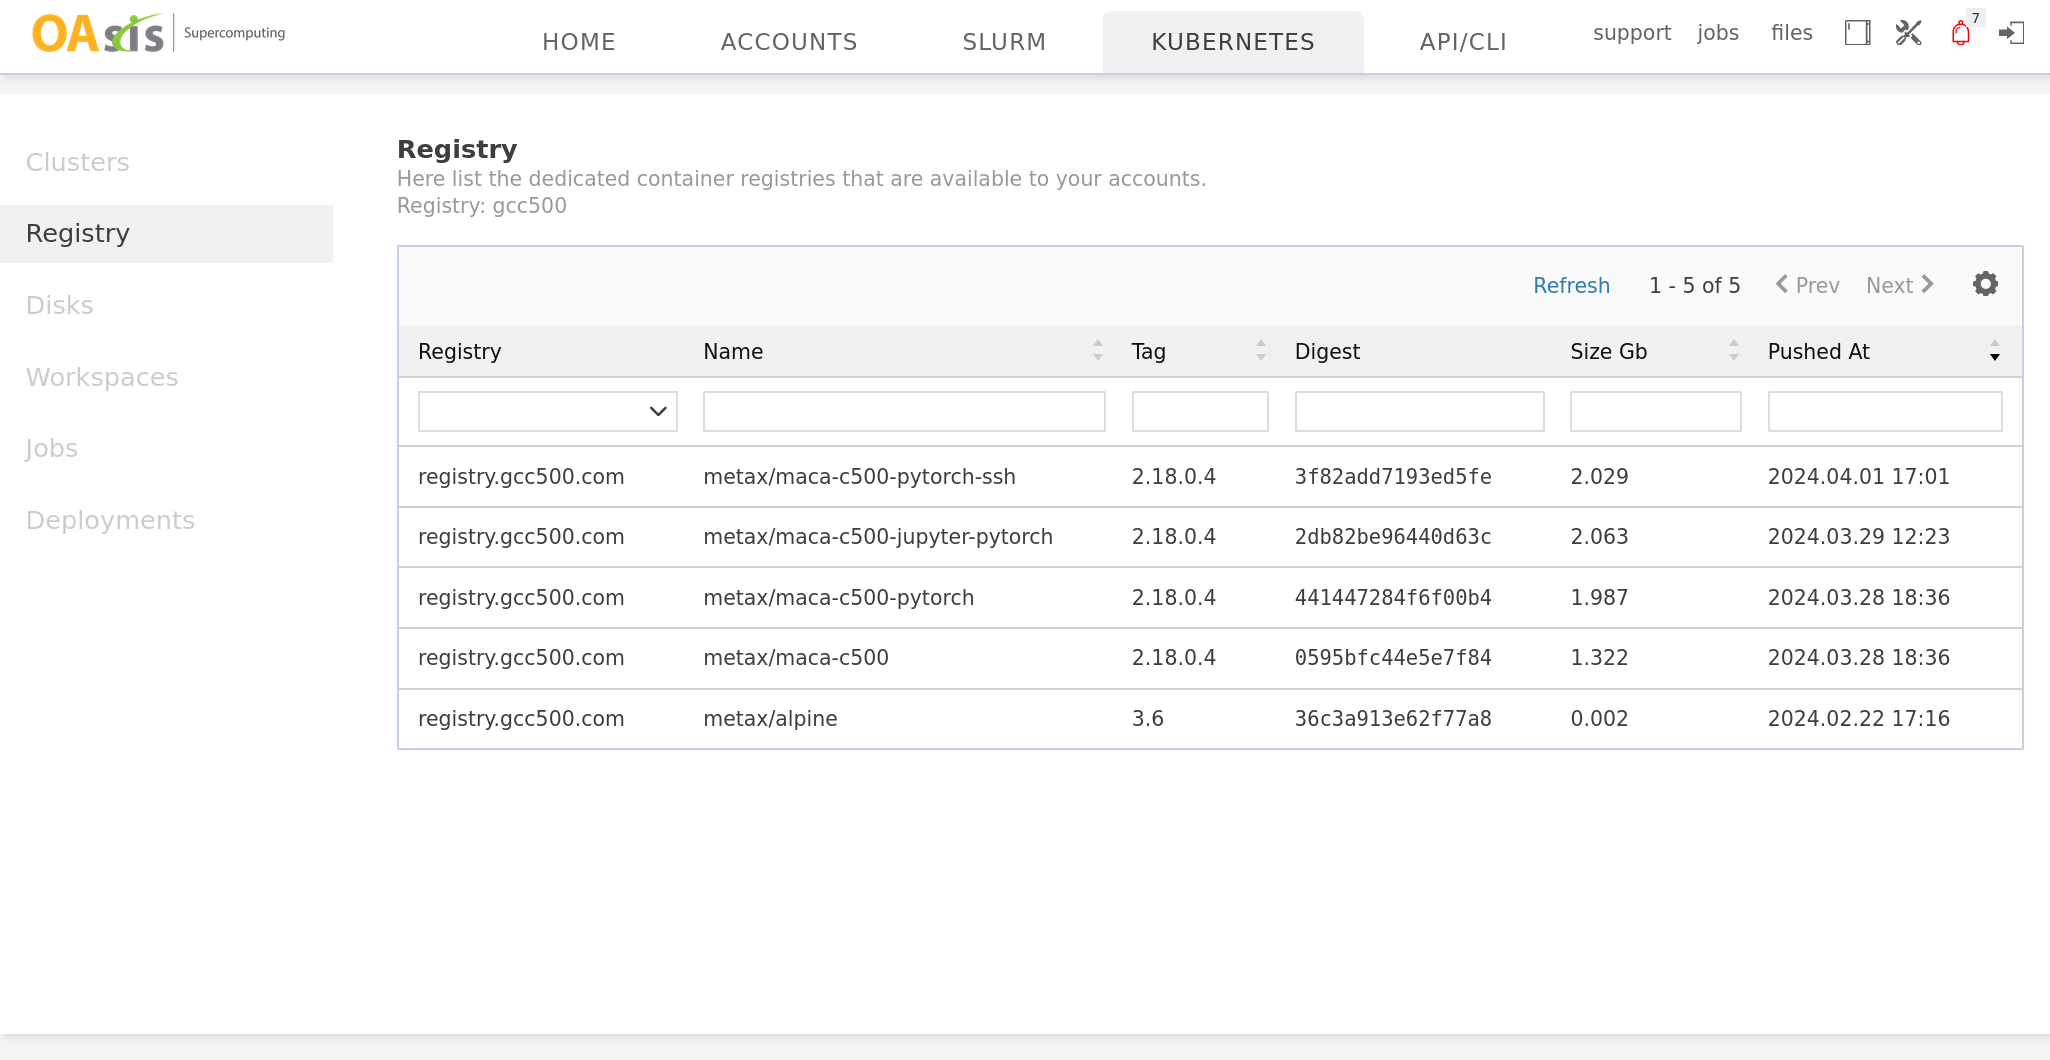
Click on the Kubernetes tab to see the cluster's high-level information and the container images prepared for you.
|
One cluster named gcc500 is available to you, with two C500 GPUs. |
Several containers are prepared in the cluster using MetaX MACA technology. |
Creating a disk for persistent storage
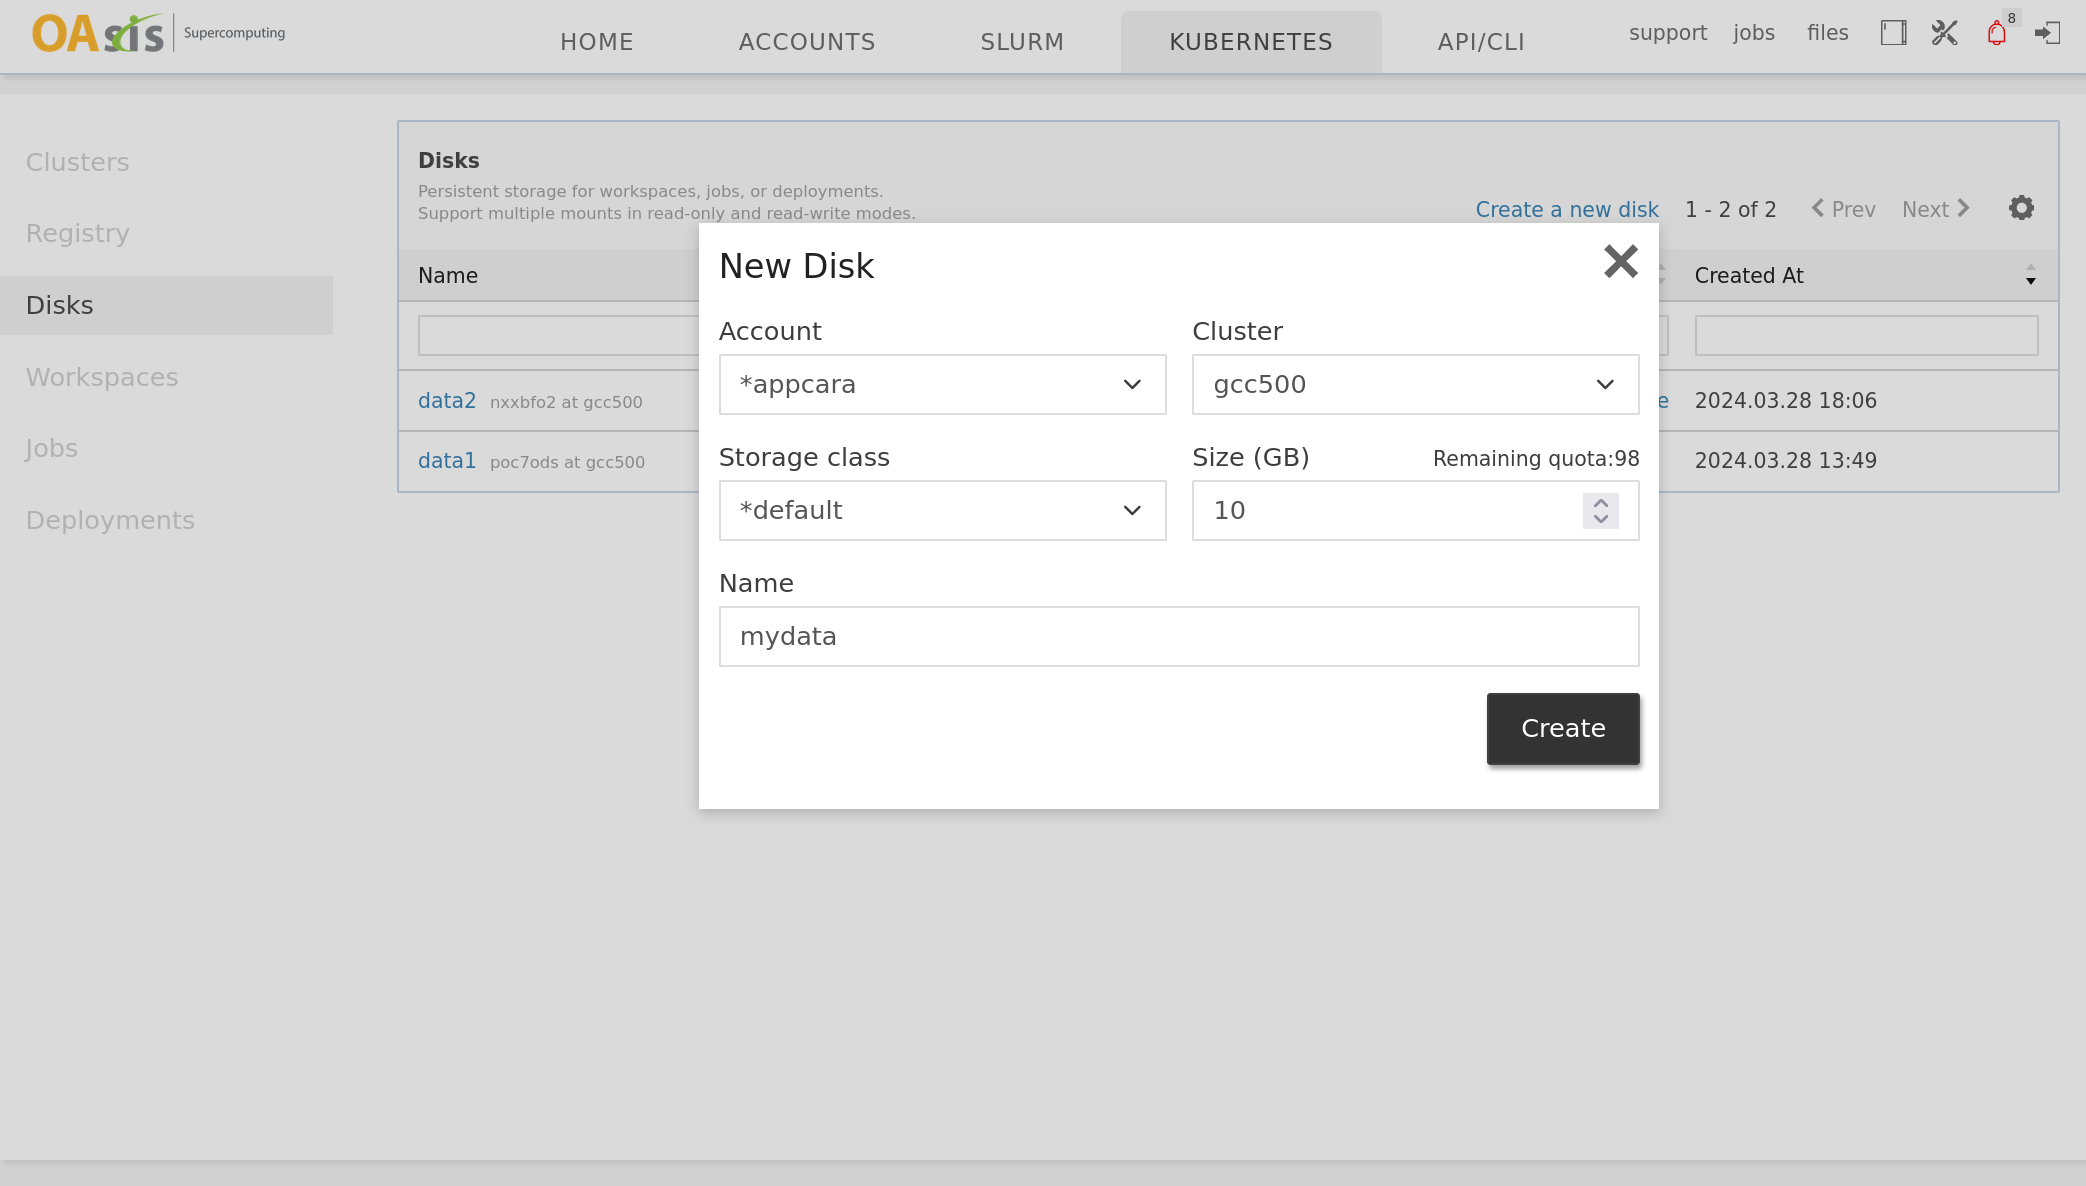
Before requesting computing resources, we may create a disk to store our codes and data. Open the Disks tab, and make a disk as follows:
|
Create a 10GB disk named mydata. Storage class is the storage tier, which may incur a different monthly rate; please select default. |
Interactive workspace
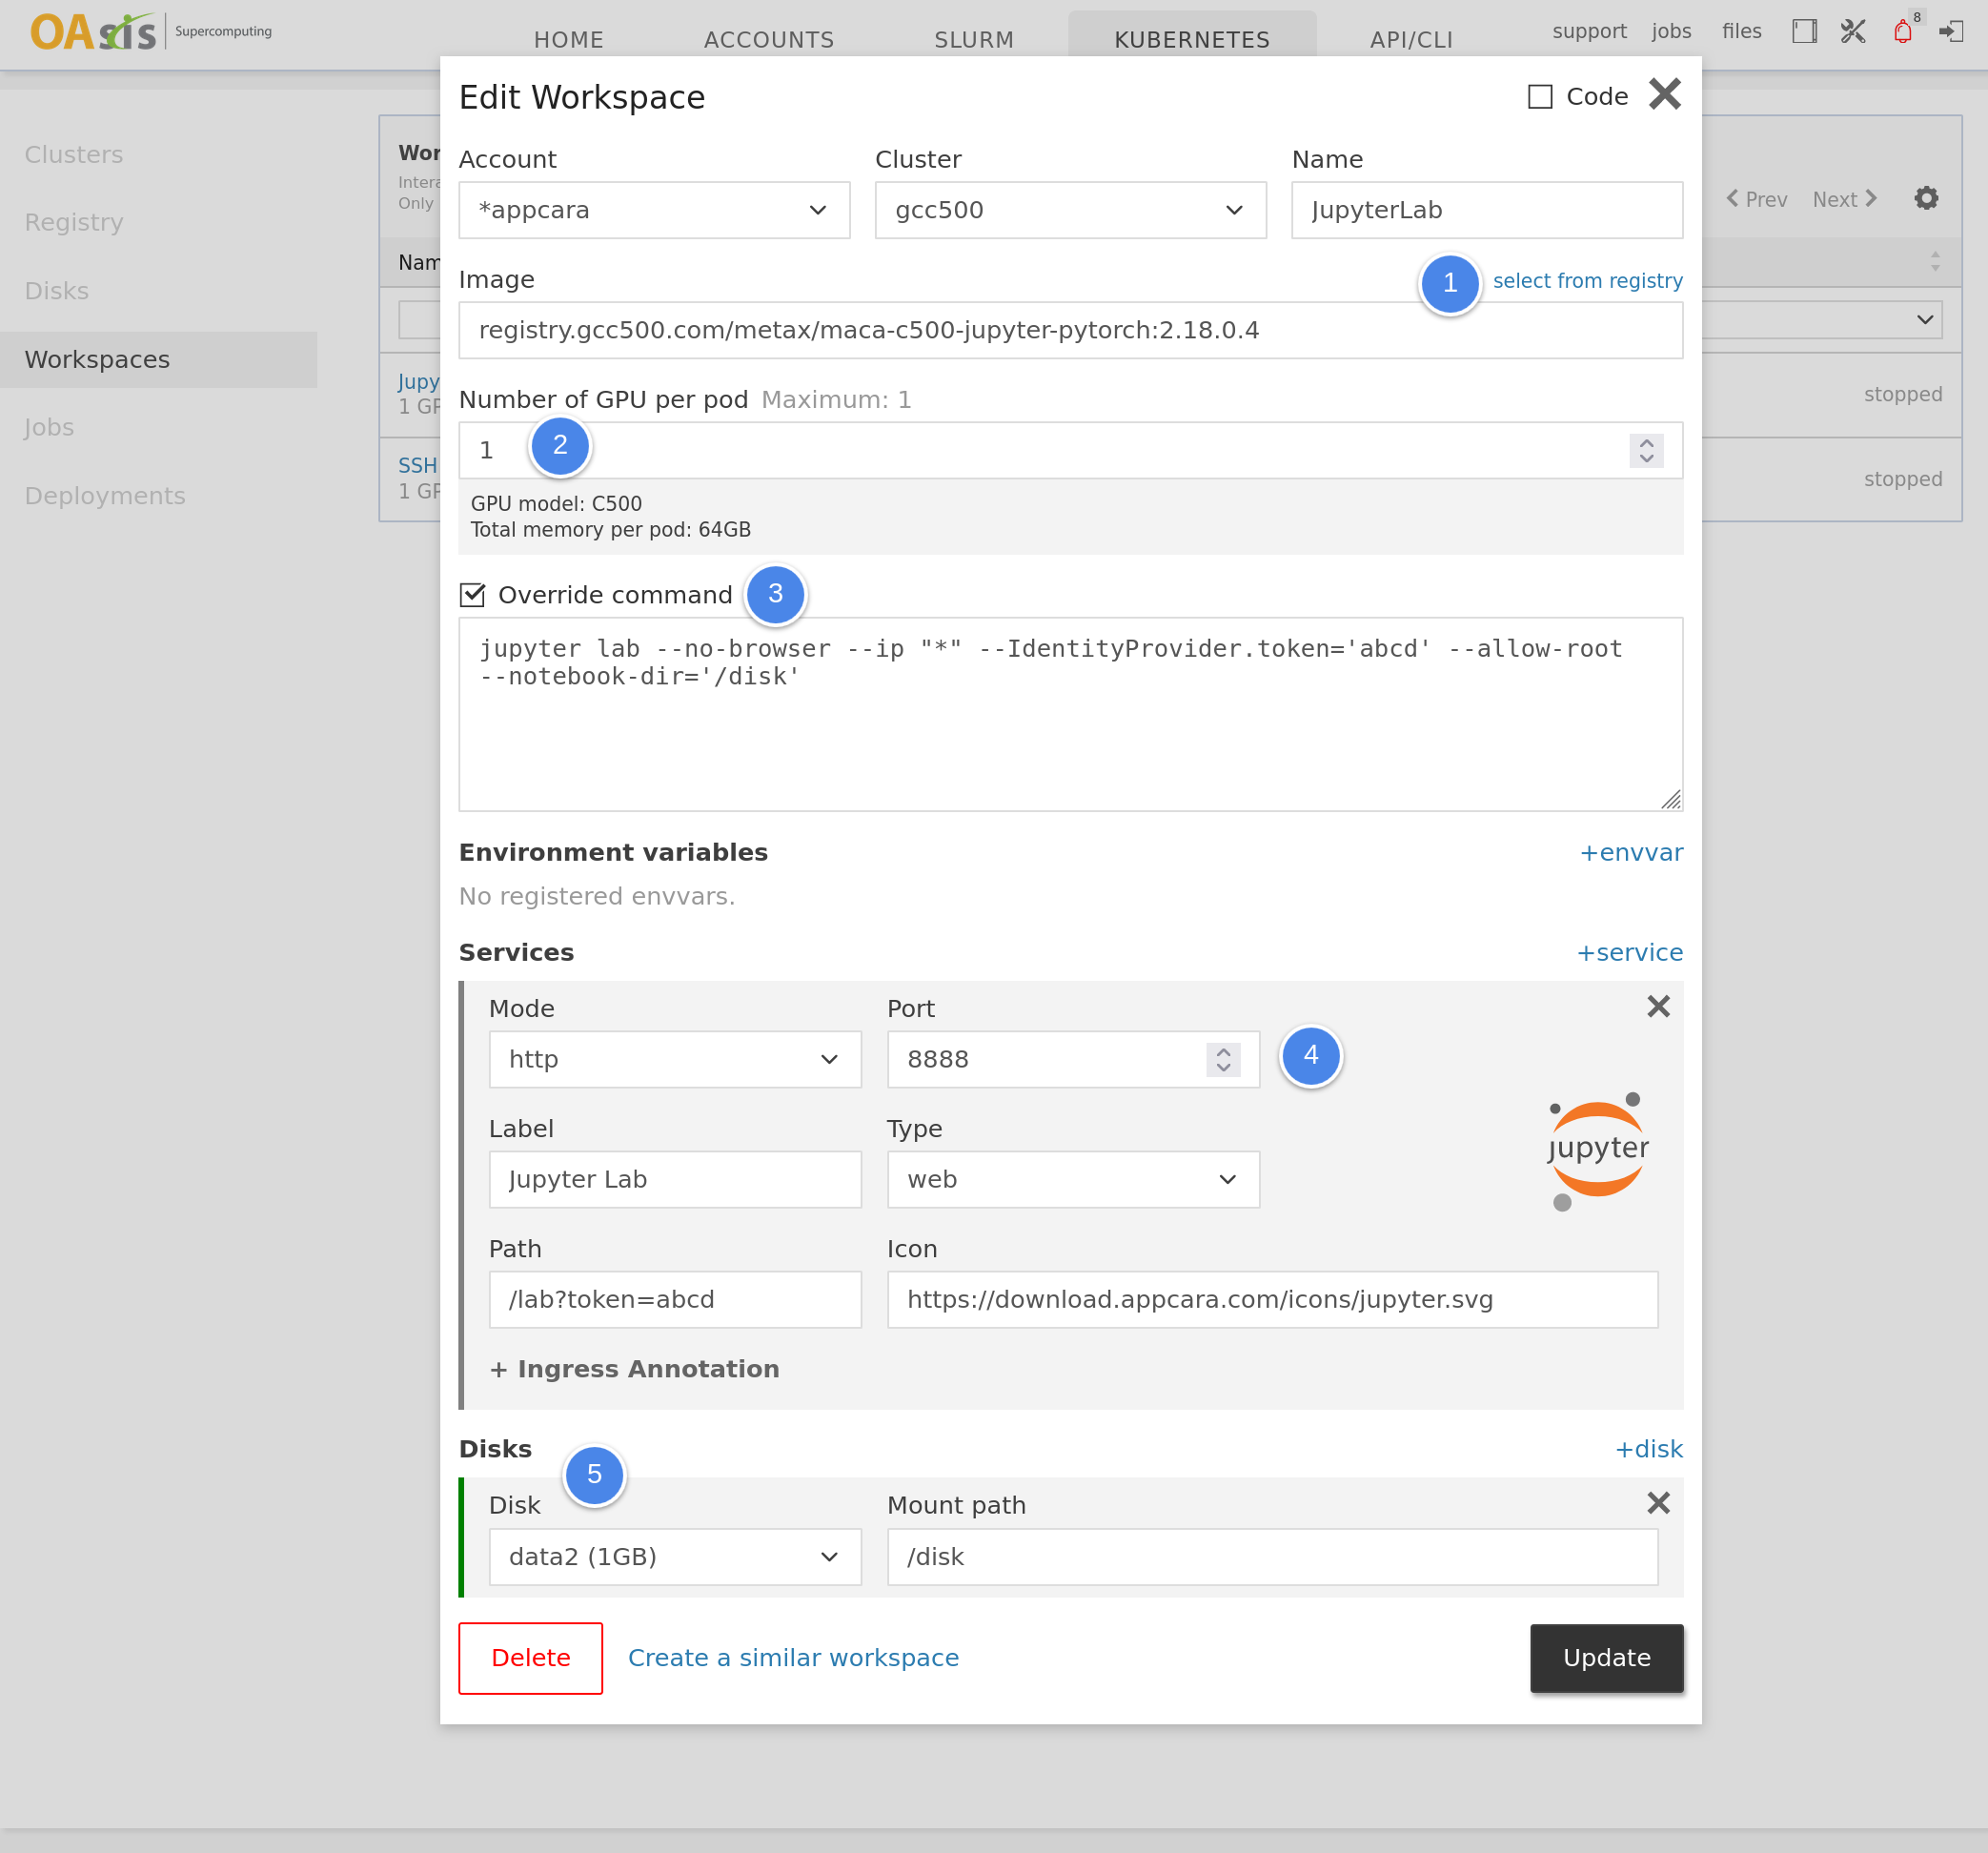
Platform support requesting a temporary interactive workspace. We can quickly launch a Jupyter Lab container with a workspace.
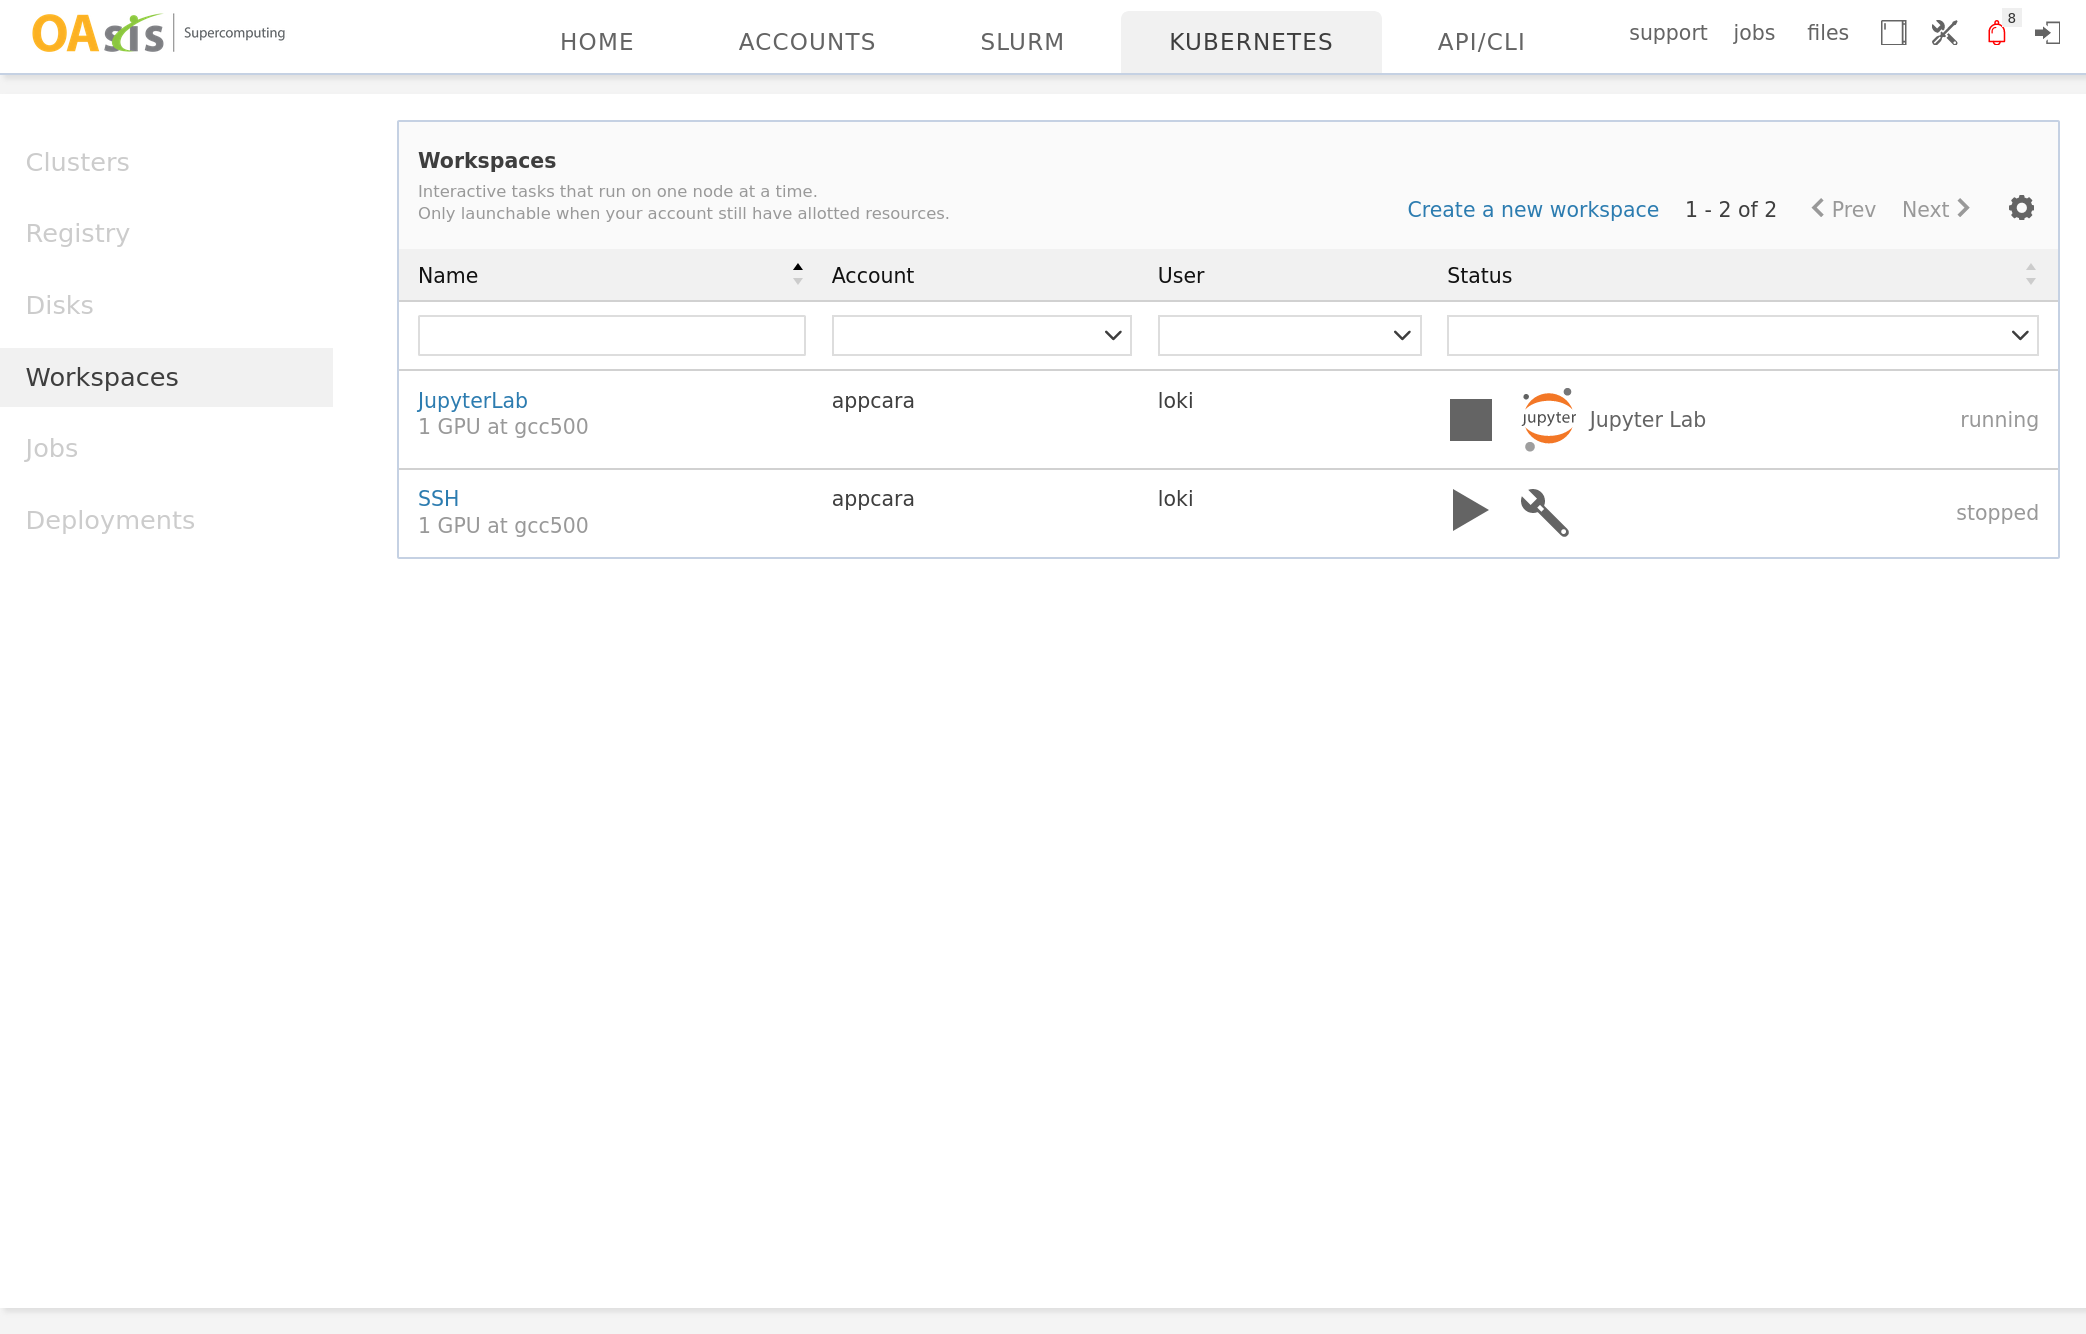
|
Now, we are ready to start the Jupyter Lab workspace and get access to it.
|
Click the Play button to start the workspace. After a while, click the Jupyter Lab button to get access to it. |
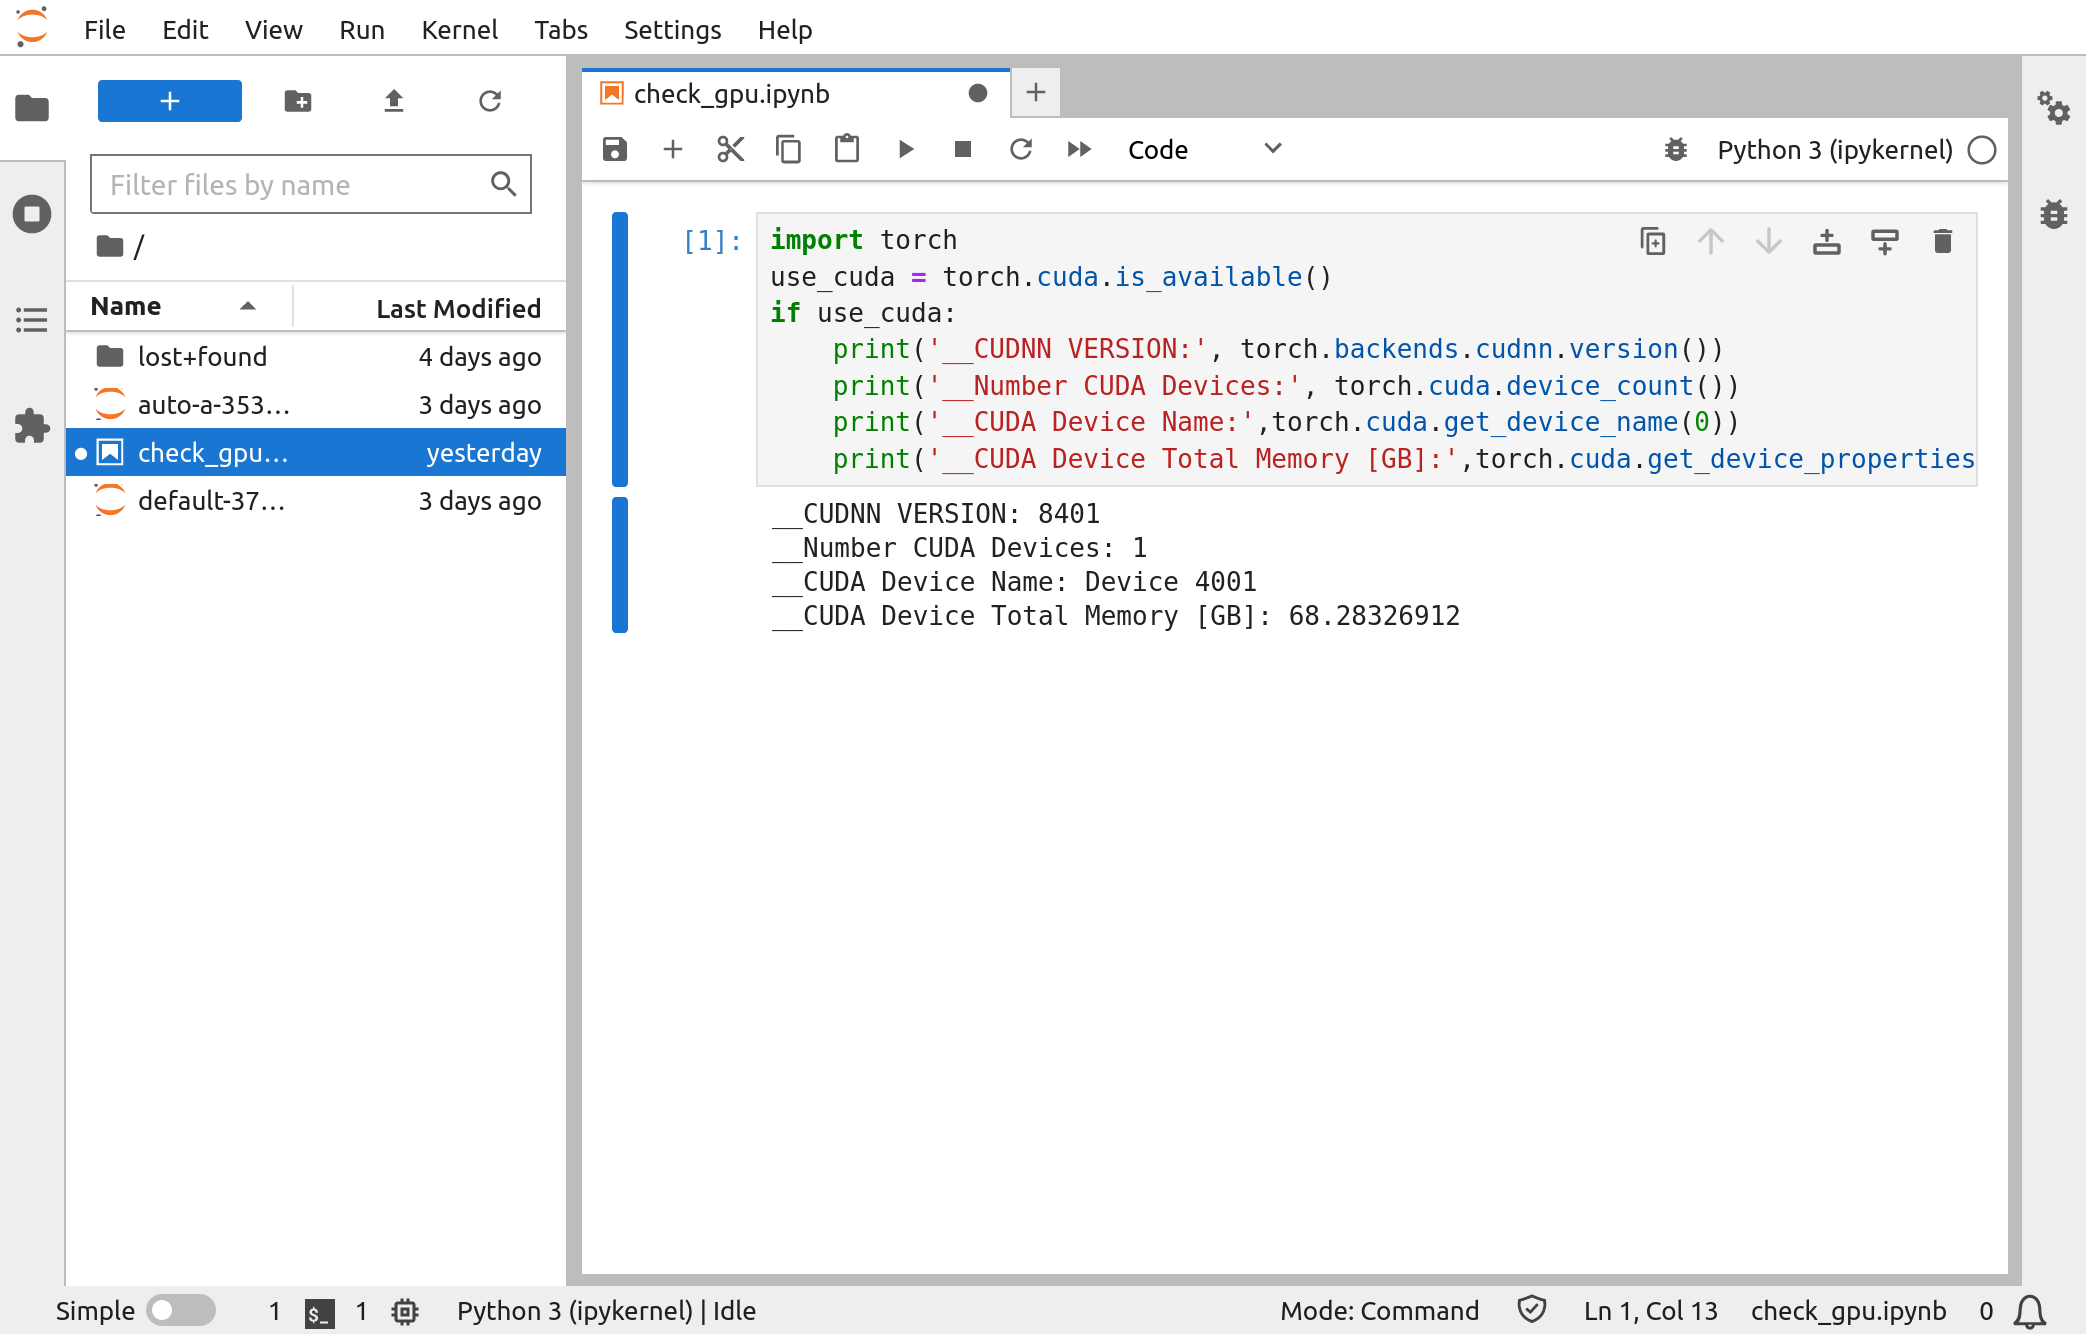
Create a new notebook and verify that we can use Pytorch with the C500 GPU. |
After you are done using the workspace, please remember to stop it by clicking the Stop button and release the GPU for other users.
Compile CUDA program
The container ships with MACA (MetaX Advanced Compute Architecture). A compiler is included to compile CUDA-compatible codes to run on MetaX GPUs. The following is an example of compiling and running a sample CUDA program inside our Jupyter workspace.
First, open the terminal in Jupyter Lab, enter bash, and input the following:
# go to our persistent storage
cd /disk

# install the required packages
apt update && apt install -y wget unzip build-essential

# download and unzip the CUDA samples
wget https://codeload.github.com/NVIDIA/cuda-samples/zip/refs/tags/v11.4 -O cuda-samples-11.4.zip
unzip cuda-samples-11.4.zip

# go into the matrixMul sample
cd /disk/cuda-samples-11.4/Samples/matrixMul

# compile and run it
export PATH=/opt/maca/tools/wcuda/bin:/opt/maca/ompi/bin:$PATH  # load path for: nvcc, mpicc
export CPATH=/opt/maca/tools/wcuda/include/:/opt/maca/ompi/include:$CPATH  # headers for cuda, mpi
nvcc -I ../../Common/ -lcuda matrixMul.cu -o matrixMul
./matrixMul|
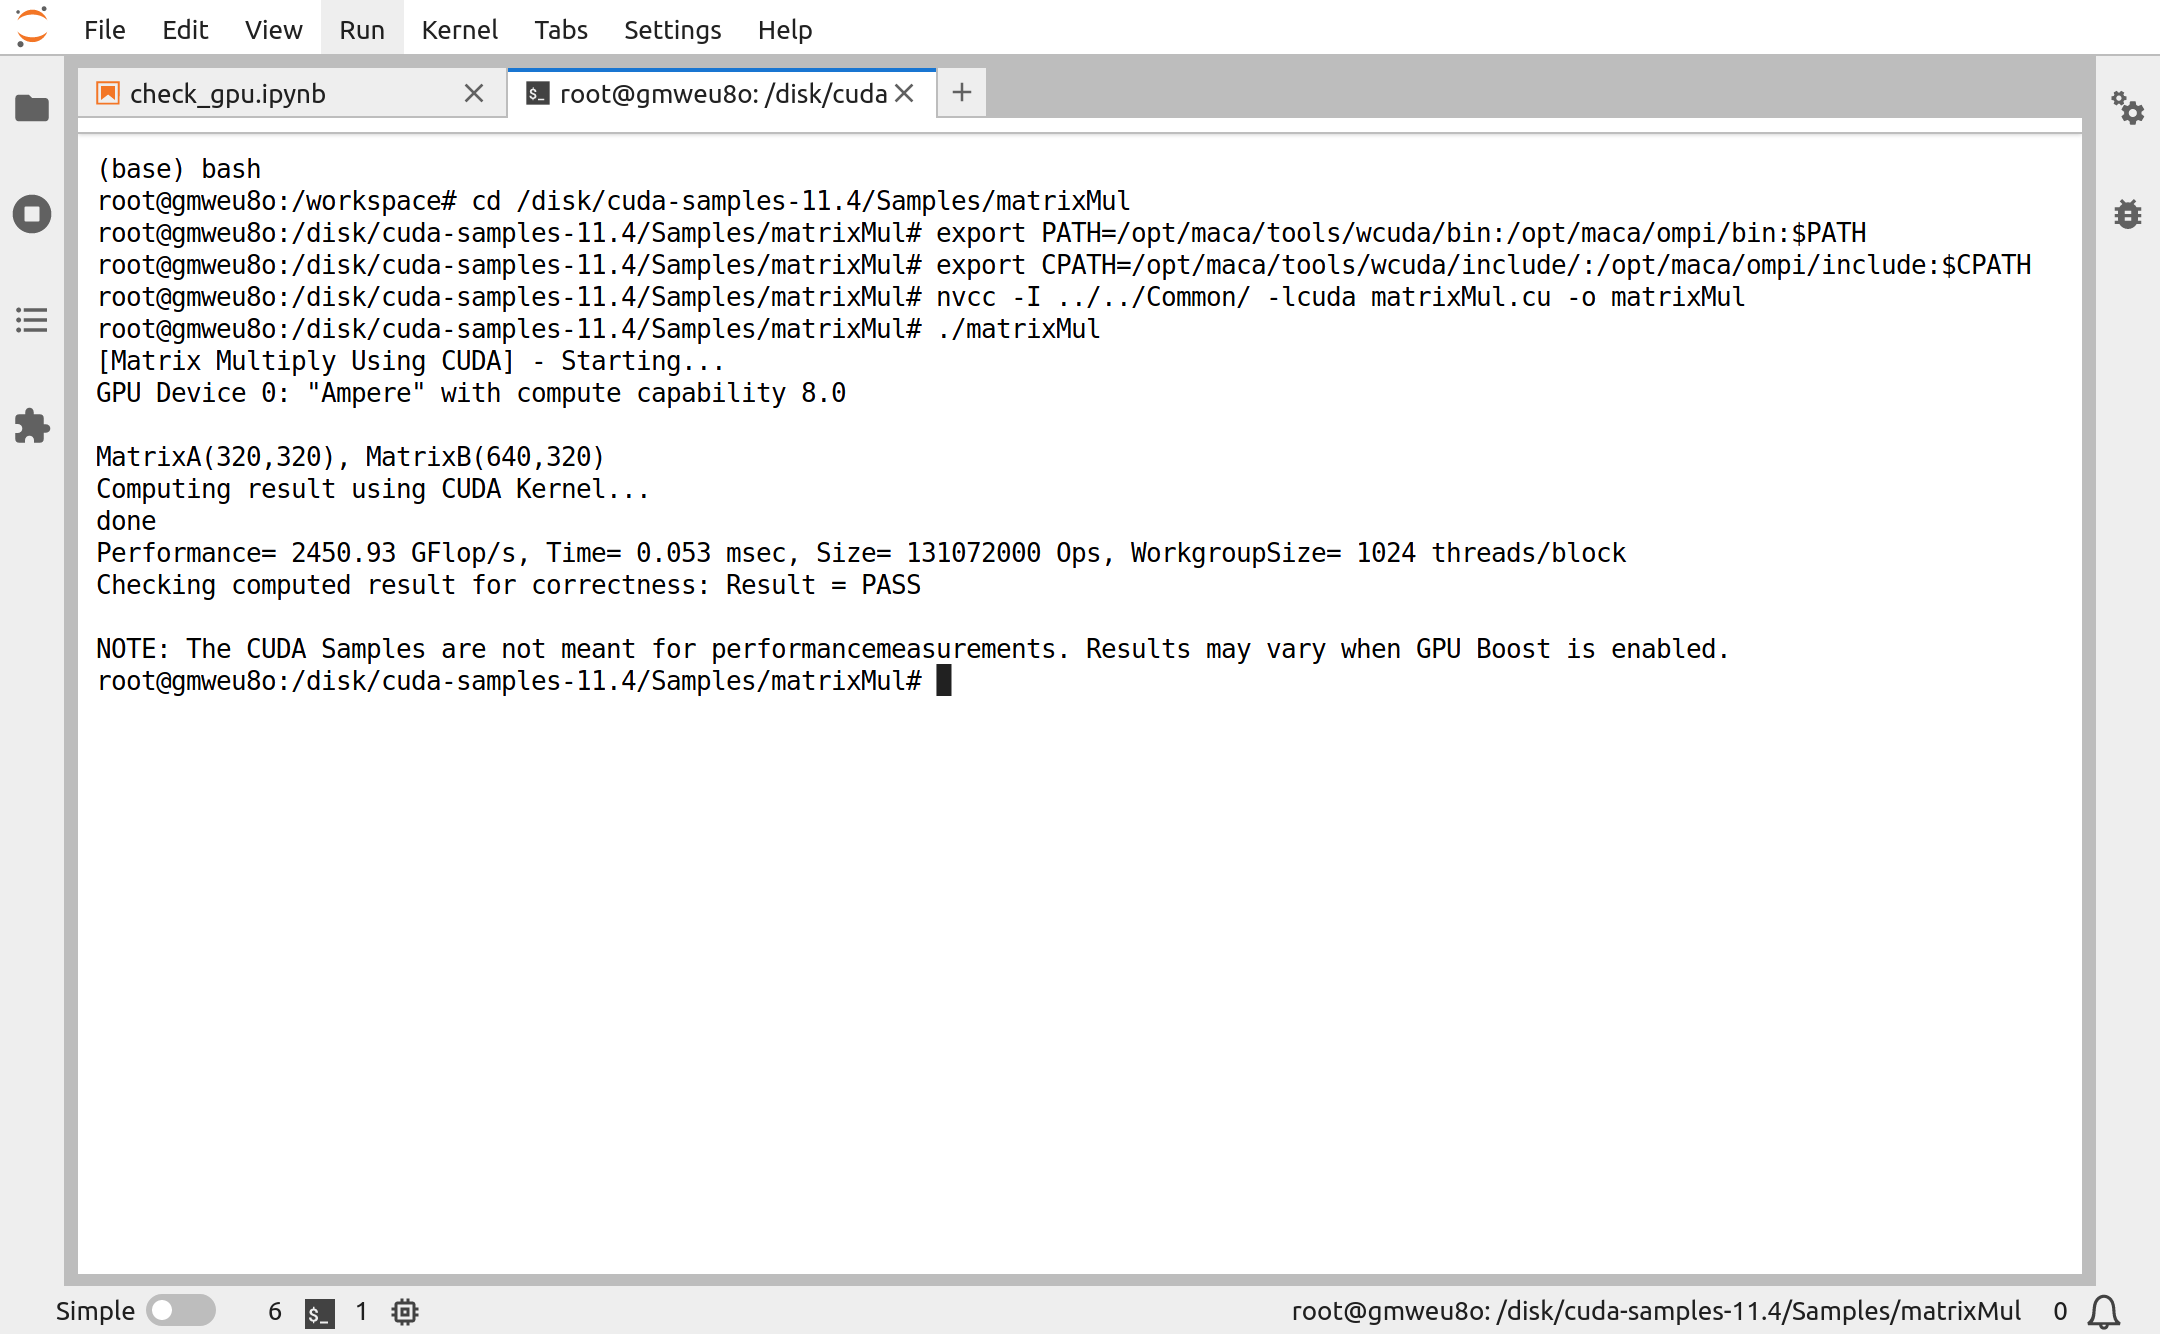
Compile and run the matrixMul CUDA sample. |
