AI painting with stable diffusion
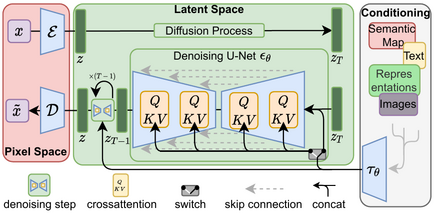
The OAsis cluster is equipped with 80GB A100 GPUs that can be leveraged to create artwork using a generative AI model called Stable Diffusion. This model supports text-to-image generation, image-to-image generation, and image inpainting.
If you're interested in learning all the technical details, you can refer to the original paper available here.
The popularity of this model is on the rise, and the community is growing at an exponential rate due to its ability to produce stunning output with minimal computing power. End-users can train additional networks or embeddings to significantly influence the output. Additionally, there's a platform called Civitai that allows users to share their models.
For this exercise, we'll be using the DreamShaper model, which is 5.6 GB in size. To make it easier for you, we've already placed it in /pfss/toolkit/stable-diffusion. You can use it directly without downloading.
To get started, let's prepare the Conda environment first.
# we'll use the scratch file system here since model files are large
cd $SCRATCH

# check out the webui from git
git clone https://github.com/AUTOMATIC1111/stable-diffusion-webui.git

# create a symbolic link to load the DreamShaper model
# since DreamShaper is a base model, place it to the models/Stable-diffusion folder
ln -s /pfss/toolkit/stable-diffusion/dreamshaper4bakedvae.WZEK.safetensors \
  stable-diffusion-webui/models/Stable-diffusion/

# create the conda environment
cd stable-diffusion-webui
module load Anaconda3/2022.05

# configure conda to use the user SCRATCH folder to store envs
echo "
pkgs_dirs:
  - $SCRATCH/.conda/pkgs
envs_dirs:
  - $SCRATCH/.conda/envs
channel_priority: flexible
" > ~/.condarc

conda create --name StableDiffusionWebui python=3.10.6
Then we will create a quick job script for launching it in the portal. Create a file called "start-sdwebui.sbatch" in your home folder and fill it with the following content. Once done, request a GPU node to launch the web UI.
#!/bin/bash -le

%node%
#SBATCH --time=0-03:00:00
#SBATCH --output=sdwebui.out

<<setup
desc: Start a stable diffusion web ui
inputs:
  - code: node
    display: Node
    type: node
    required: true
    placeholder: Please select a node
    default:
      part: gpu
      cpu: 16
      mem: 256
      gpu: a100
setup

module load Anaconda3/2022.05 CUDA GCCcore git
source activate StableDiffusionWebui
cd $SCRATCH/stable-diffusion-webui

host=$(hostname)
port=$(hc acquire-port -j $SLURM_JOB_ID -u web --host $host -l WebUI)

export PIP_CACHE_DIR=$SCRATCH/.cache/pip
mkdir -p $PIP_CACHE_DIR

./webui.sh --listen --port $port
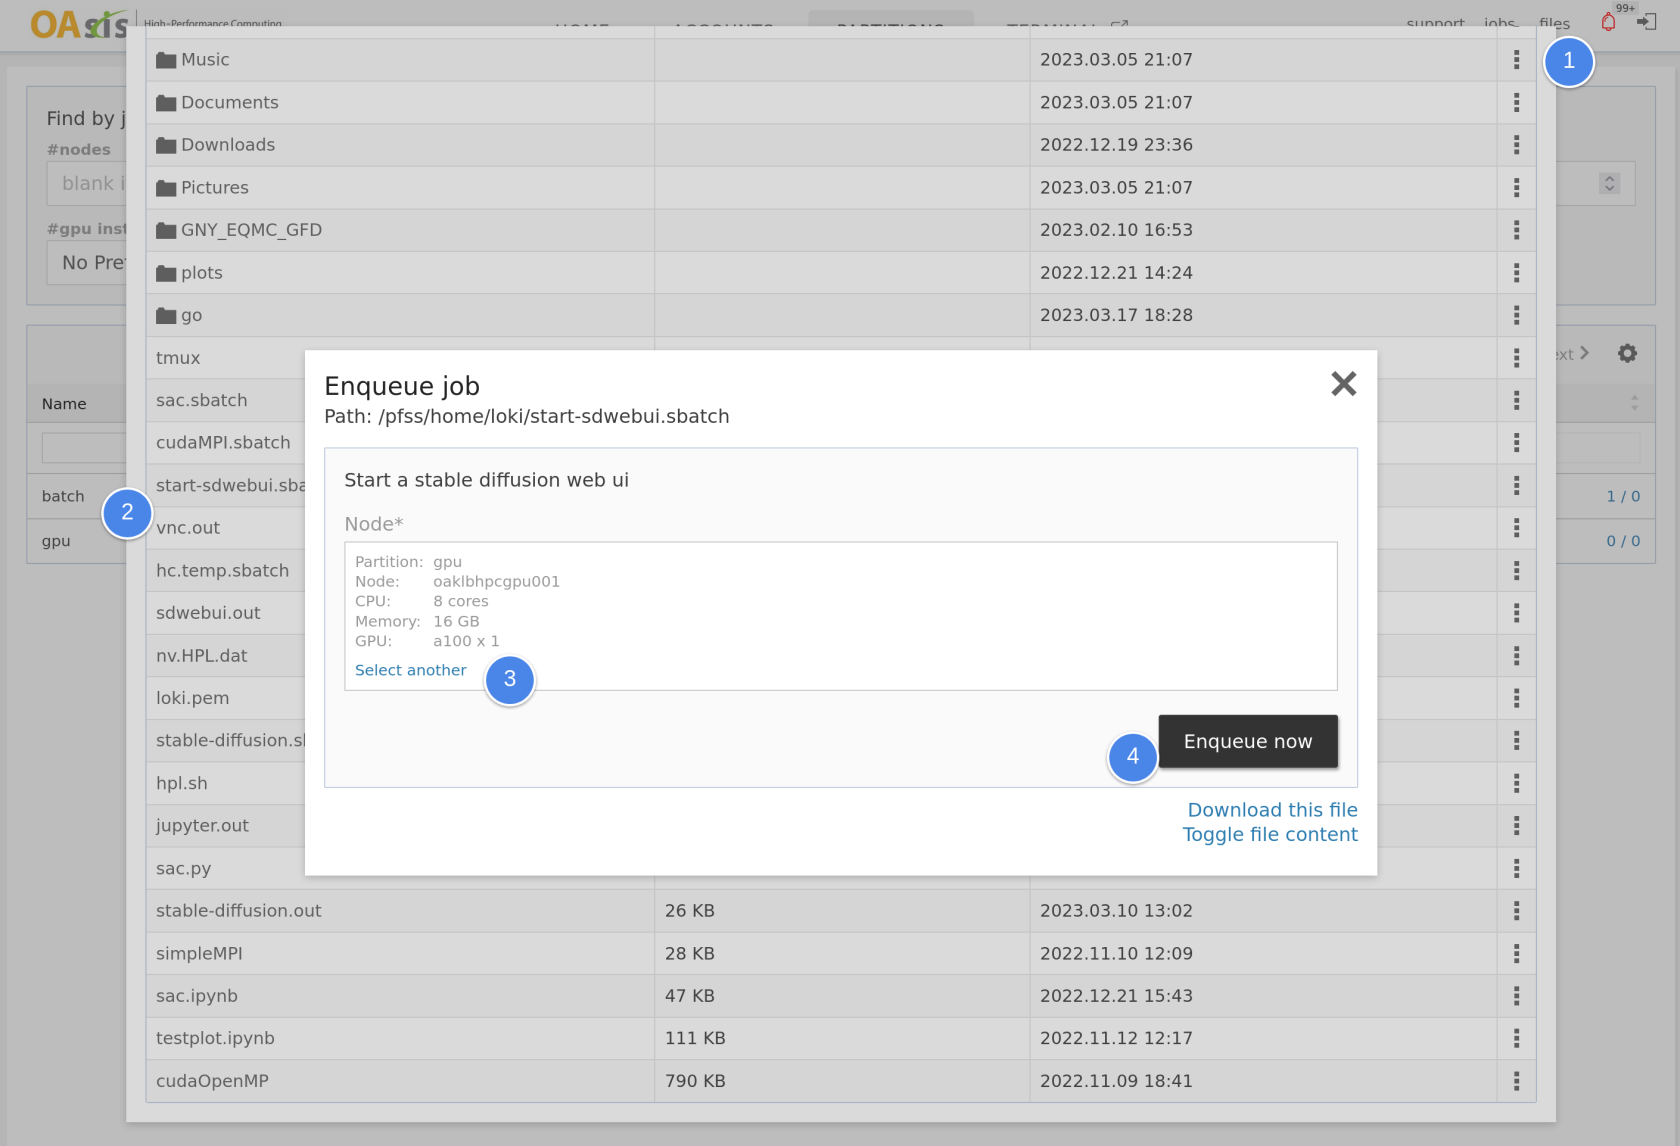
Once you log in to the web portal, open the file browser and select the .sbatch file you created. Pick a node with GPU and launch it.
Please note that the installation of all Python libraries and dependencies may take some time on the first run. You can monitor the progress in the $HOME/sdwebui.out file.
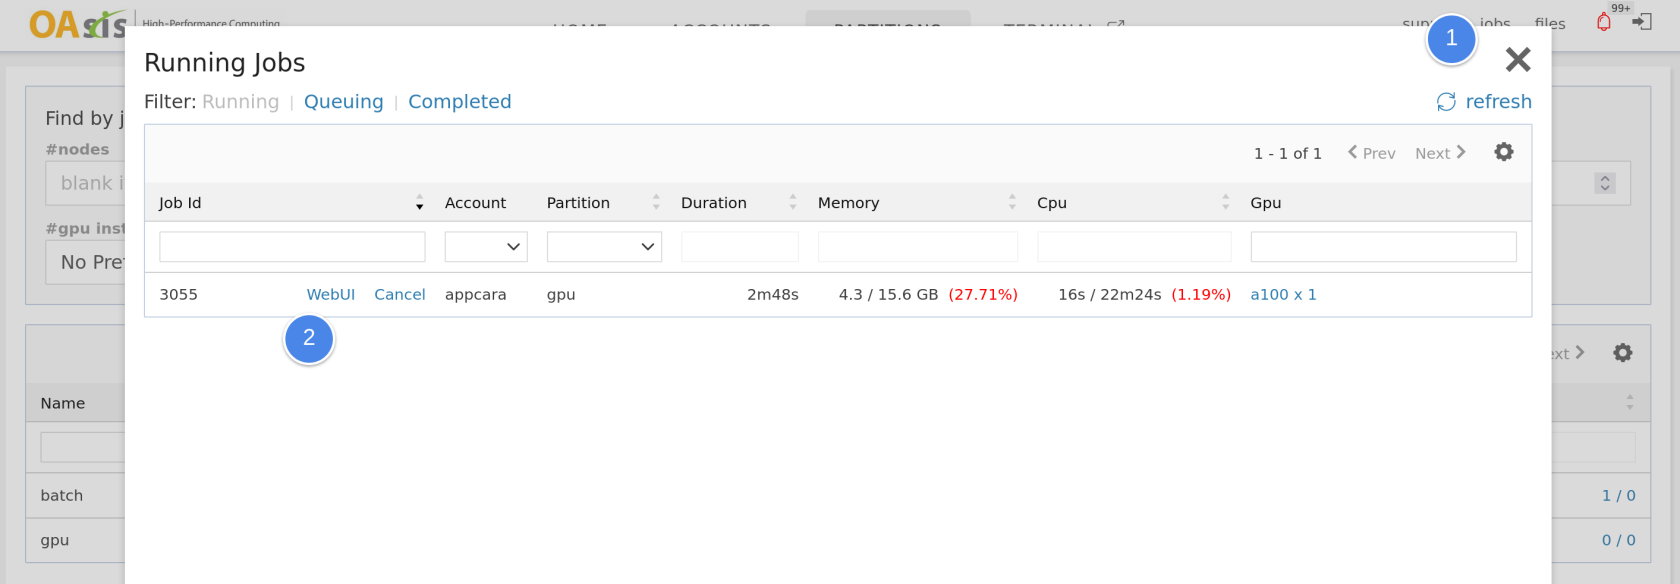
When the Web UI is launched, you may access it at the running jobs window.
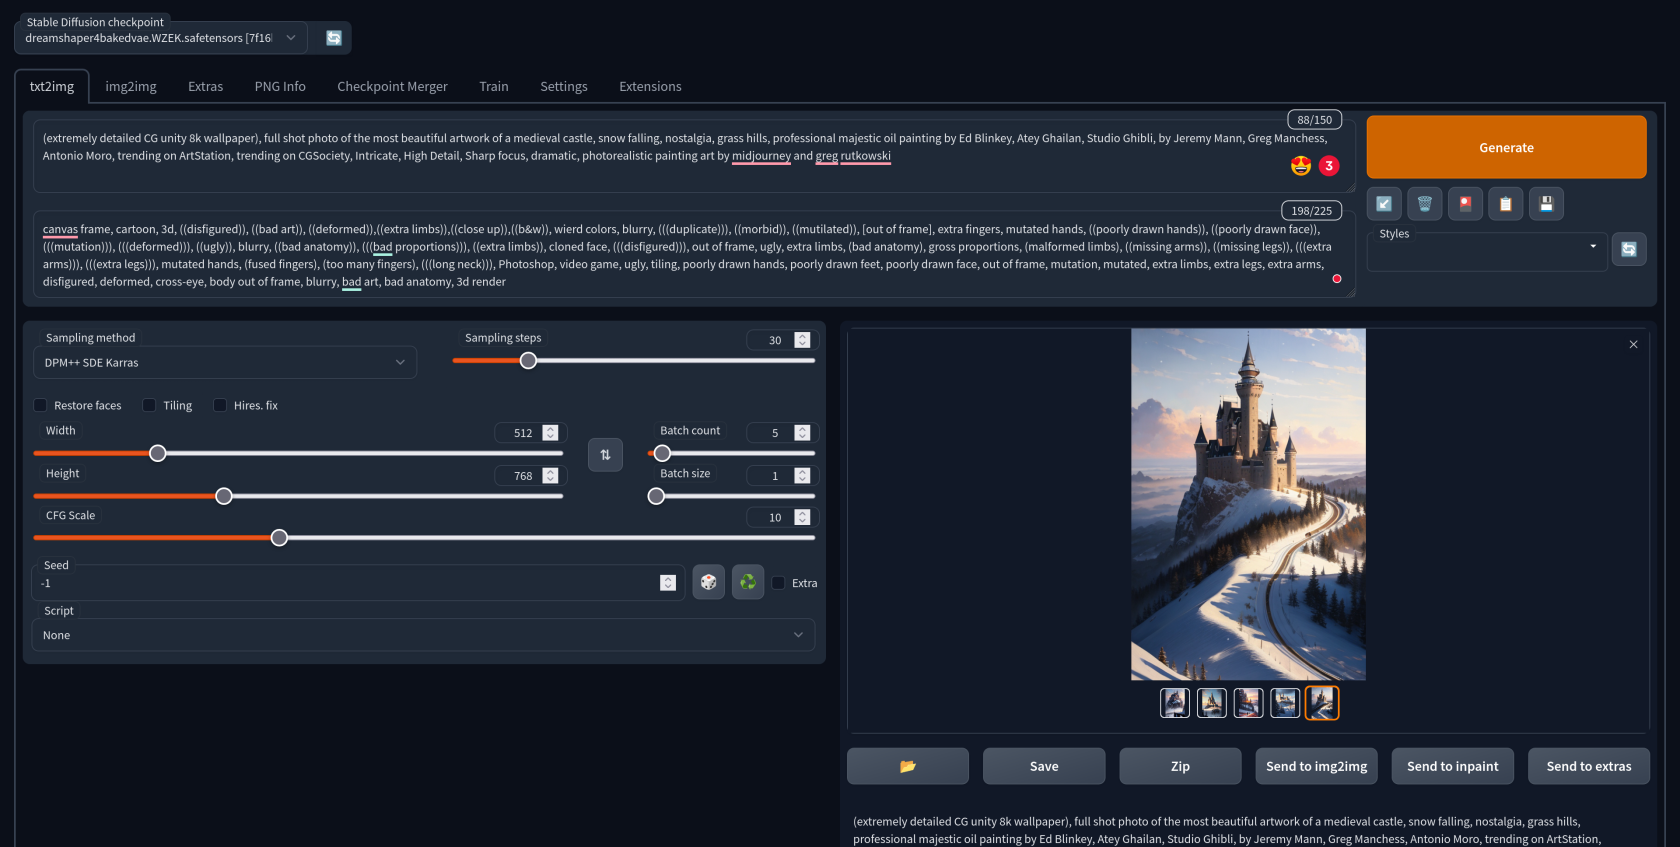
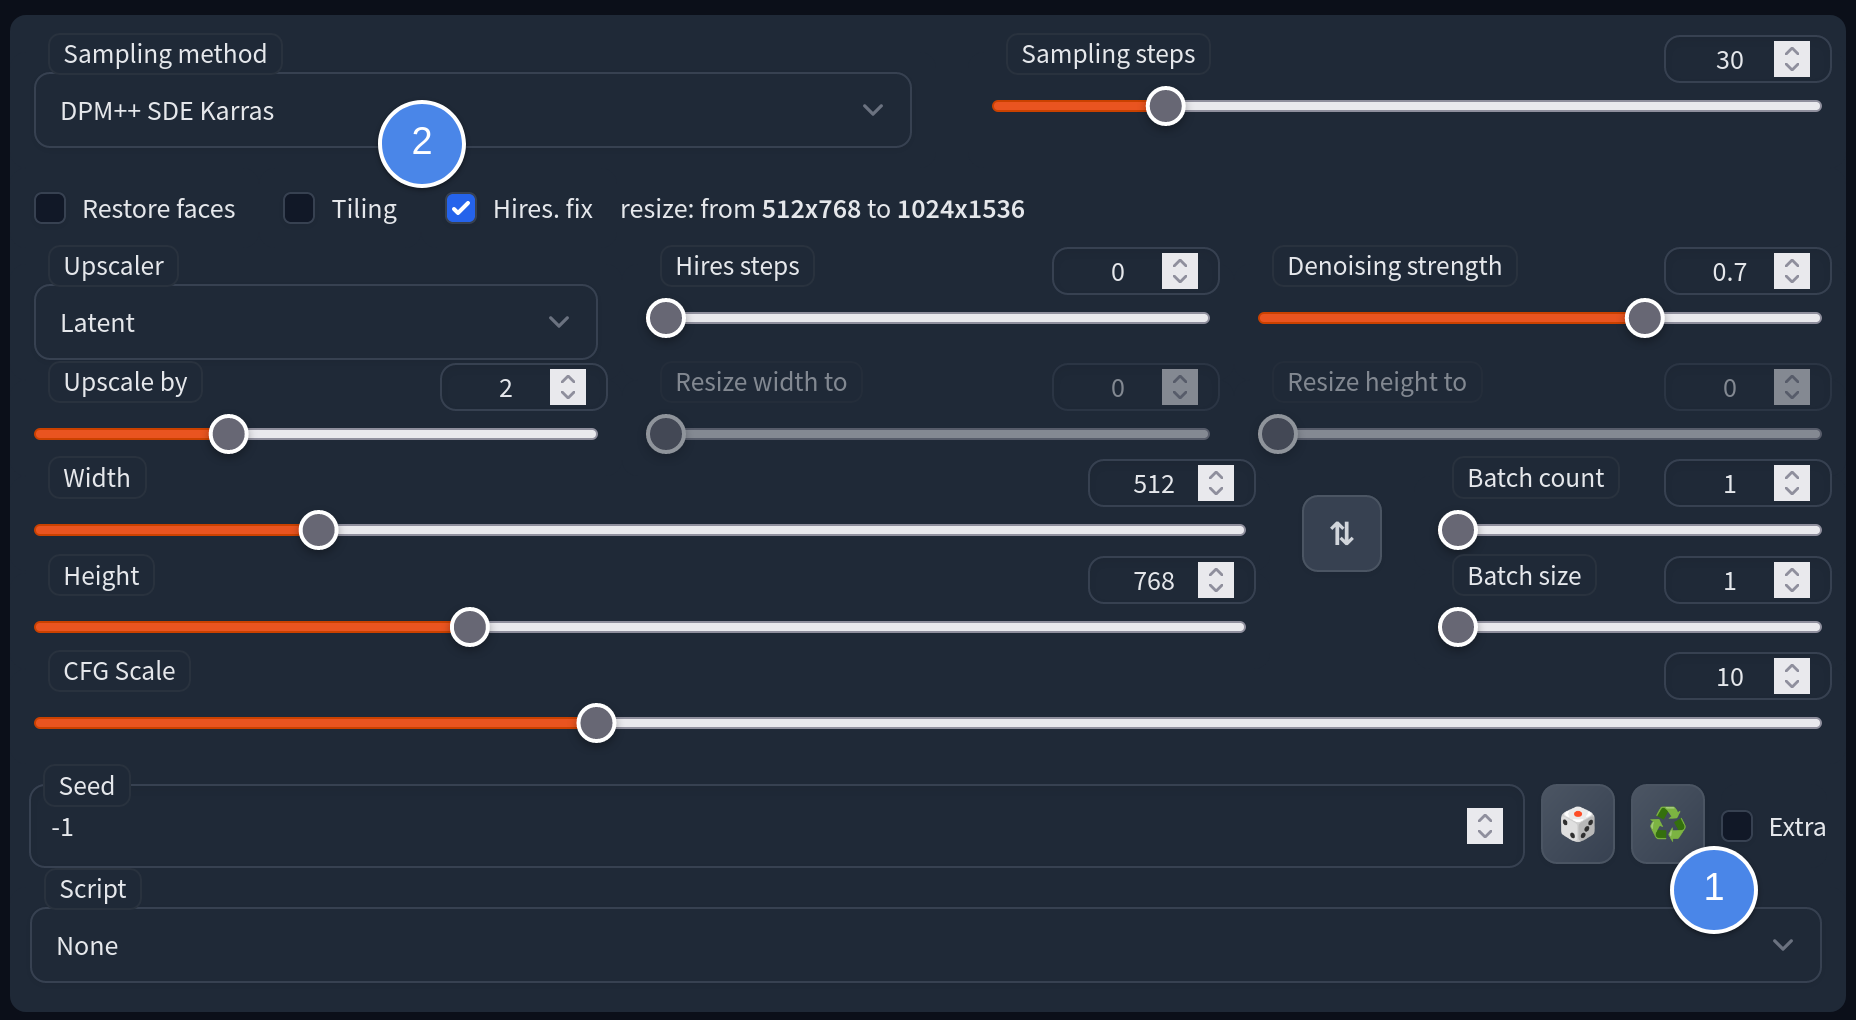
Once the web UI is launched, you'll have access to numerous options to explore. It may seem overwhelming at first, but a simpler way to get started is to find an artwork shared on Civitai and use it as a starting point. For example, we chose this one.
You can replicate the prompts, sampler, and step settings to generate your own artwork. If you replicate the seed, you can reproduce the same image.
In our case, we decided to generate five pieces at a time. Once we found a good one, we upscaled it to a larger image with more details.
And voila! This is how we created the cover image for this article.
In conclusion, this is just the beginning of a rapidly developing field. There's so much more to explore, from trying different models shared by others to training the model to understand new concepts or styles.

