PyTorch with GPU in Jupyter Lab using container-based kernel
The easiest way to kick start deep learning is to use our Jupyter Lab feature with container kernel. This article shows how this is achieved using the OAsis web portal.
Jupyter Lab
It is an exceptional tool for interactive development, particularly in deep learning models. Jupyter Lab offers a user-friendly interface where you can write, test, and debug your code seamlessly. It's an excellent way to enhance your workflow and optimize your development process.
Kernel
In Jupyter, a kernel is a program that executes code in a specific programming language. Kernels allow Jupyter to support multiple languages, such as Python, R, and Julia, among others. When you open a Jupyter Notebook, you can select which kernel to use, depending on the language you want to use. Once you select a kernel, any code you run in the notebook will be executed by that kernel. This enables you to work with different languages in the same notebook, making Jupyter a versatile and powerful tool for data science and development.
Container
It is powerful to use containers as kernels in Jupyter. With this approach, there's no need to set up a conda environment or compile specific Python modules for your model. Instead, you can use a container with all the necessary dependencies and libraries. This eliminates the need for manual configuration and streamlines the deployment process. With container as kernel, you can quickly and easily set up your development environment and start your project immediately.
Numerous containers are readily available on the internet. To help you get started, we have pre-downloaded several useful containers in /pfss/containers. This article will utilize the PyTorch container available through the Nvidia GPU Cloud (NGC).
Launch Jupyter Lab
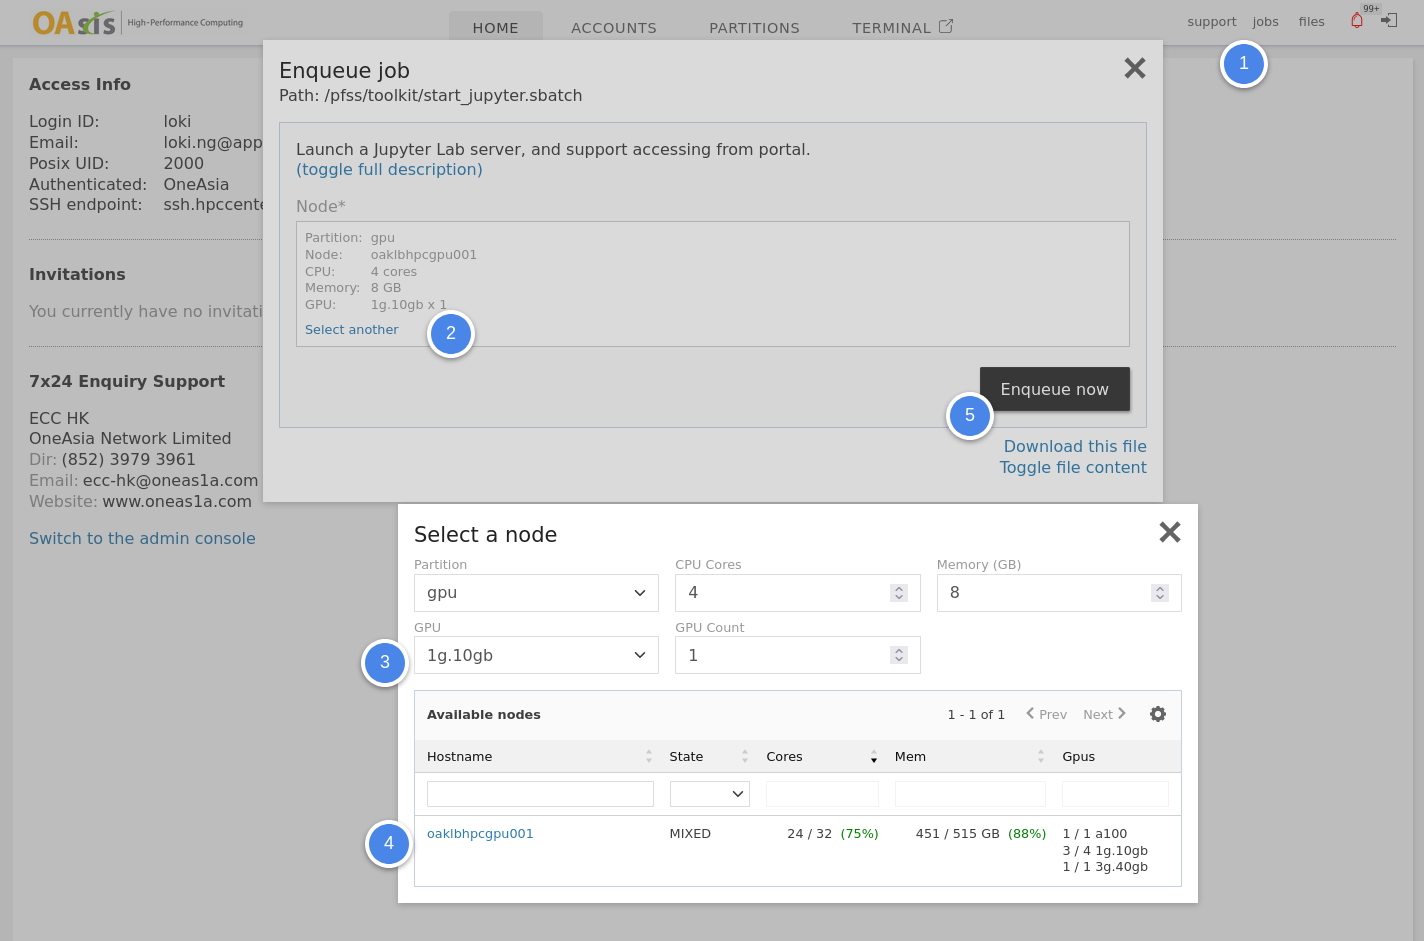
To begin, you'll need to initiate a Jupyter Lab instance. This can be done easily through the OAsis web portal. Start by selecting "Jobs" in the top-right corner, followed by "Jupyter Lab." From the launcher window, choose a compute node with a GPU that is available. For our purposes, since the model is relatively uncomplicated, we will be using the smallest MIG.
Then you may get access to the launched Jupyter Lab instance by clicking the link in the running jobs window.
Setup the container kernel
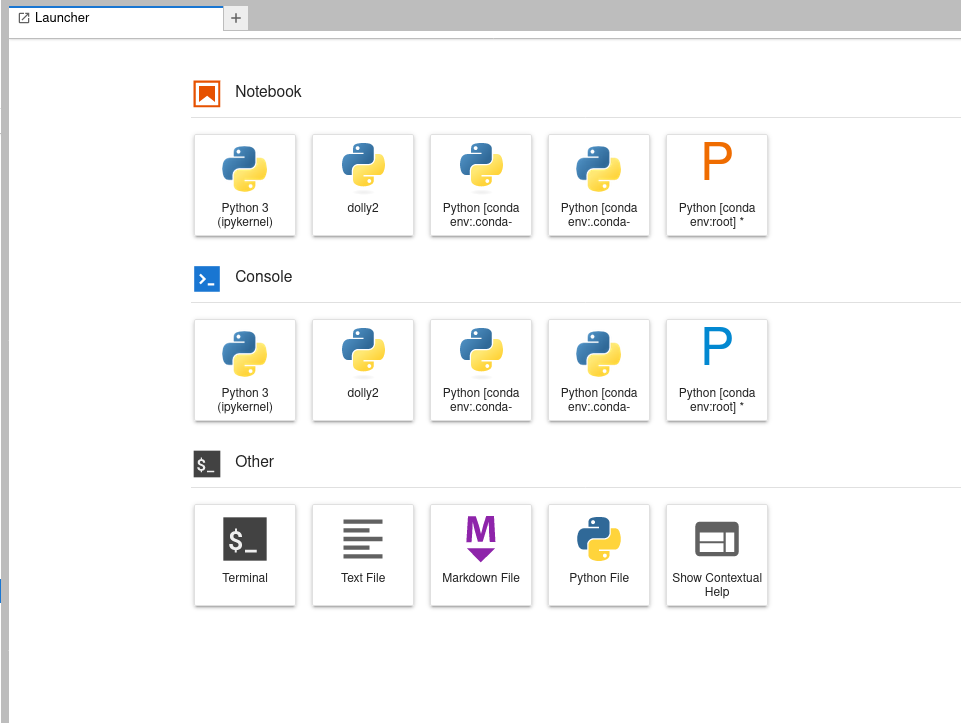
Our next step is to establish a new folder and generate a kernel.json file for our recently created kernel. To begin, we can launch the terminal from the launcher.
Create the folder with a kernel.json file inside.
mkdir -p .local/share/jupyter/kernels/ngc.pytorch

echo '
{
 "language": "python",
 "argv": ["/usr/bin/singularity",
   "exec",
   "--nv",
   "-B",
   "/run/user:/run/user",
   "/pfss/containers/ngc.pytorch.22.09.sif",
   "python",
   "-m",
   "ipykernel",
   "-f",
   "{connection_file}"
 ],
 "display_name": "ngc.pytorch"
}
' > .local/share/jupyter/kernels/ngc.pytorch/kernel.json
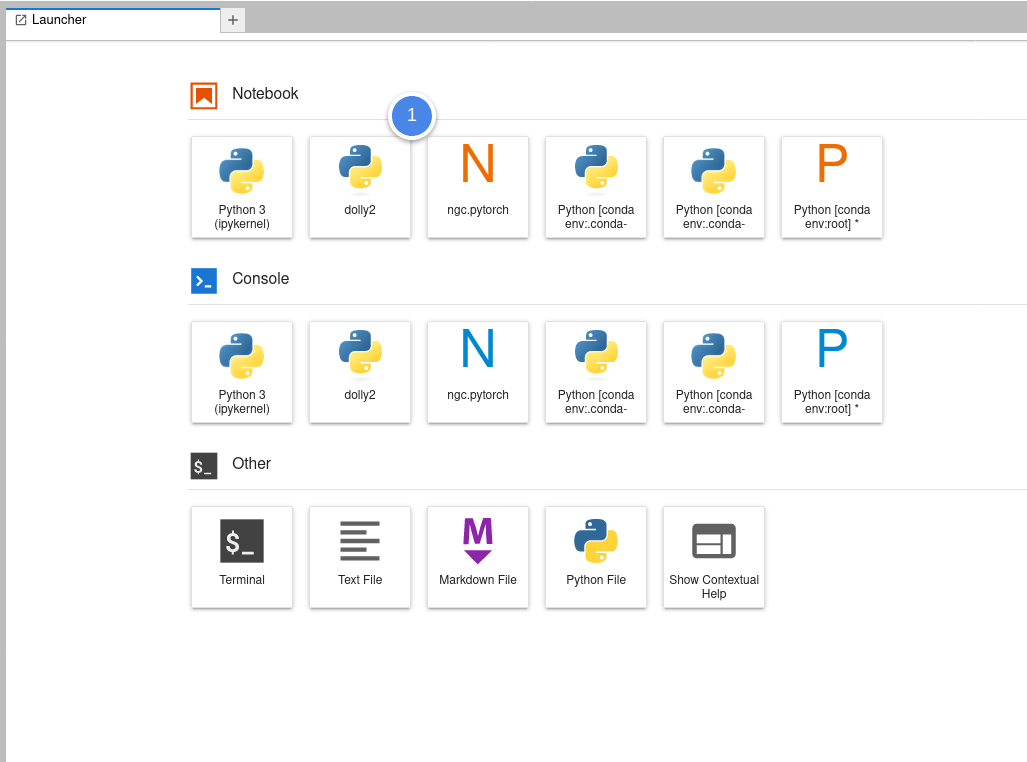
After completing the prior step, refresh Jupyter Lab. You will then notice the inclusion of a new kernel available in the launcher.
Notebook
With Jupyter Notebook, users can easily combine code, text, and visual elements into a single document, which can be shared and collaborated on with others.
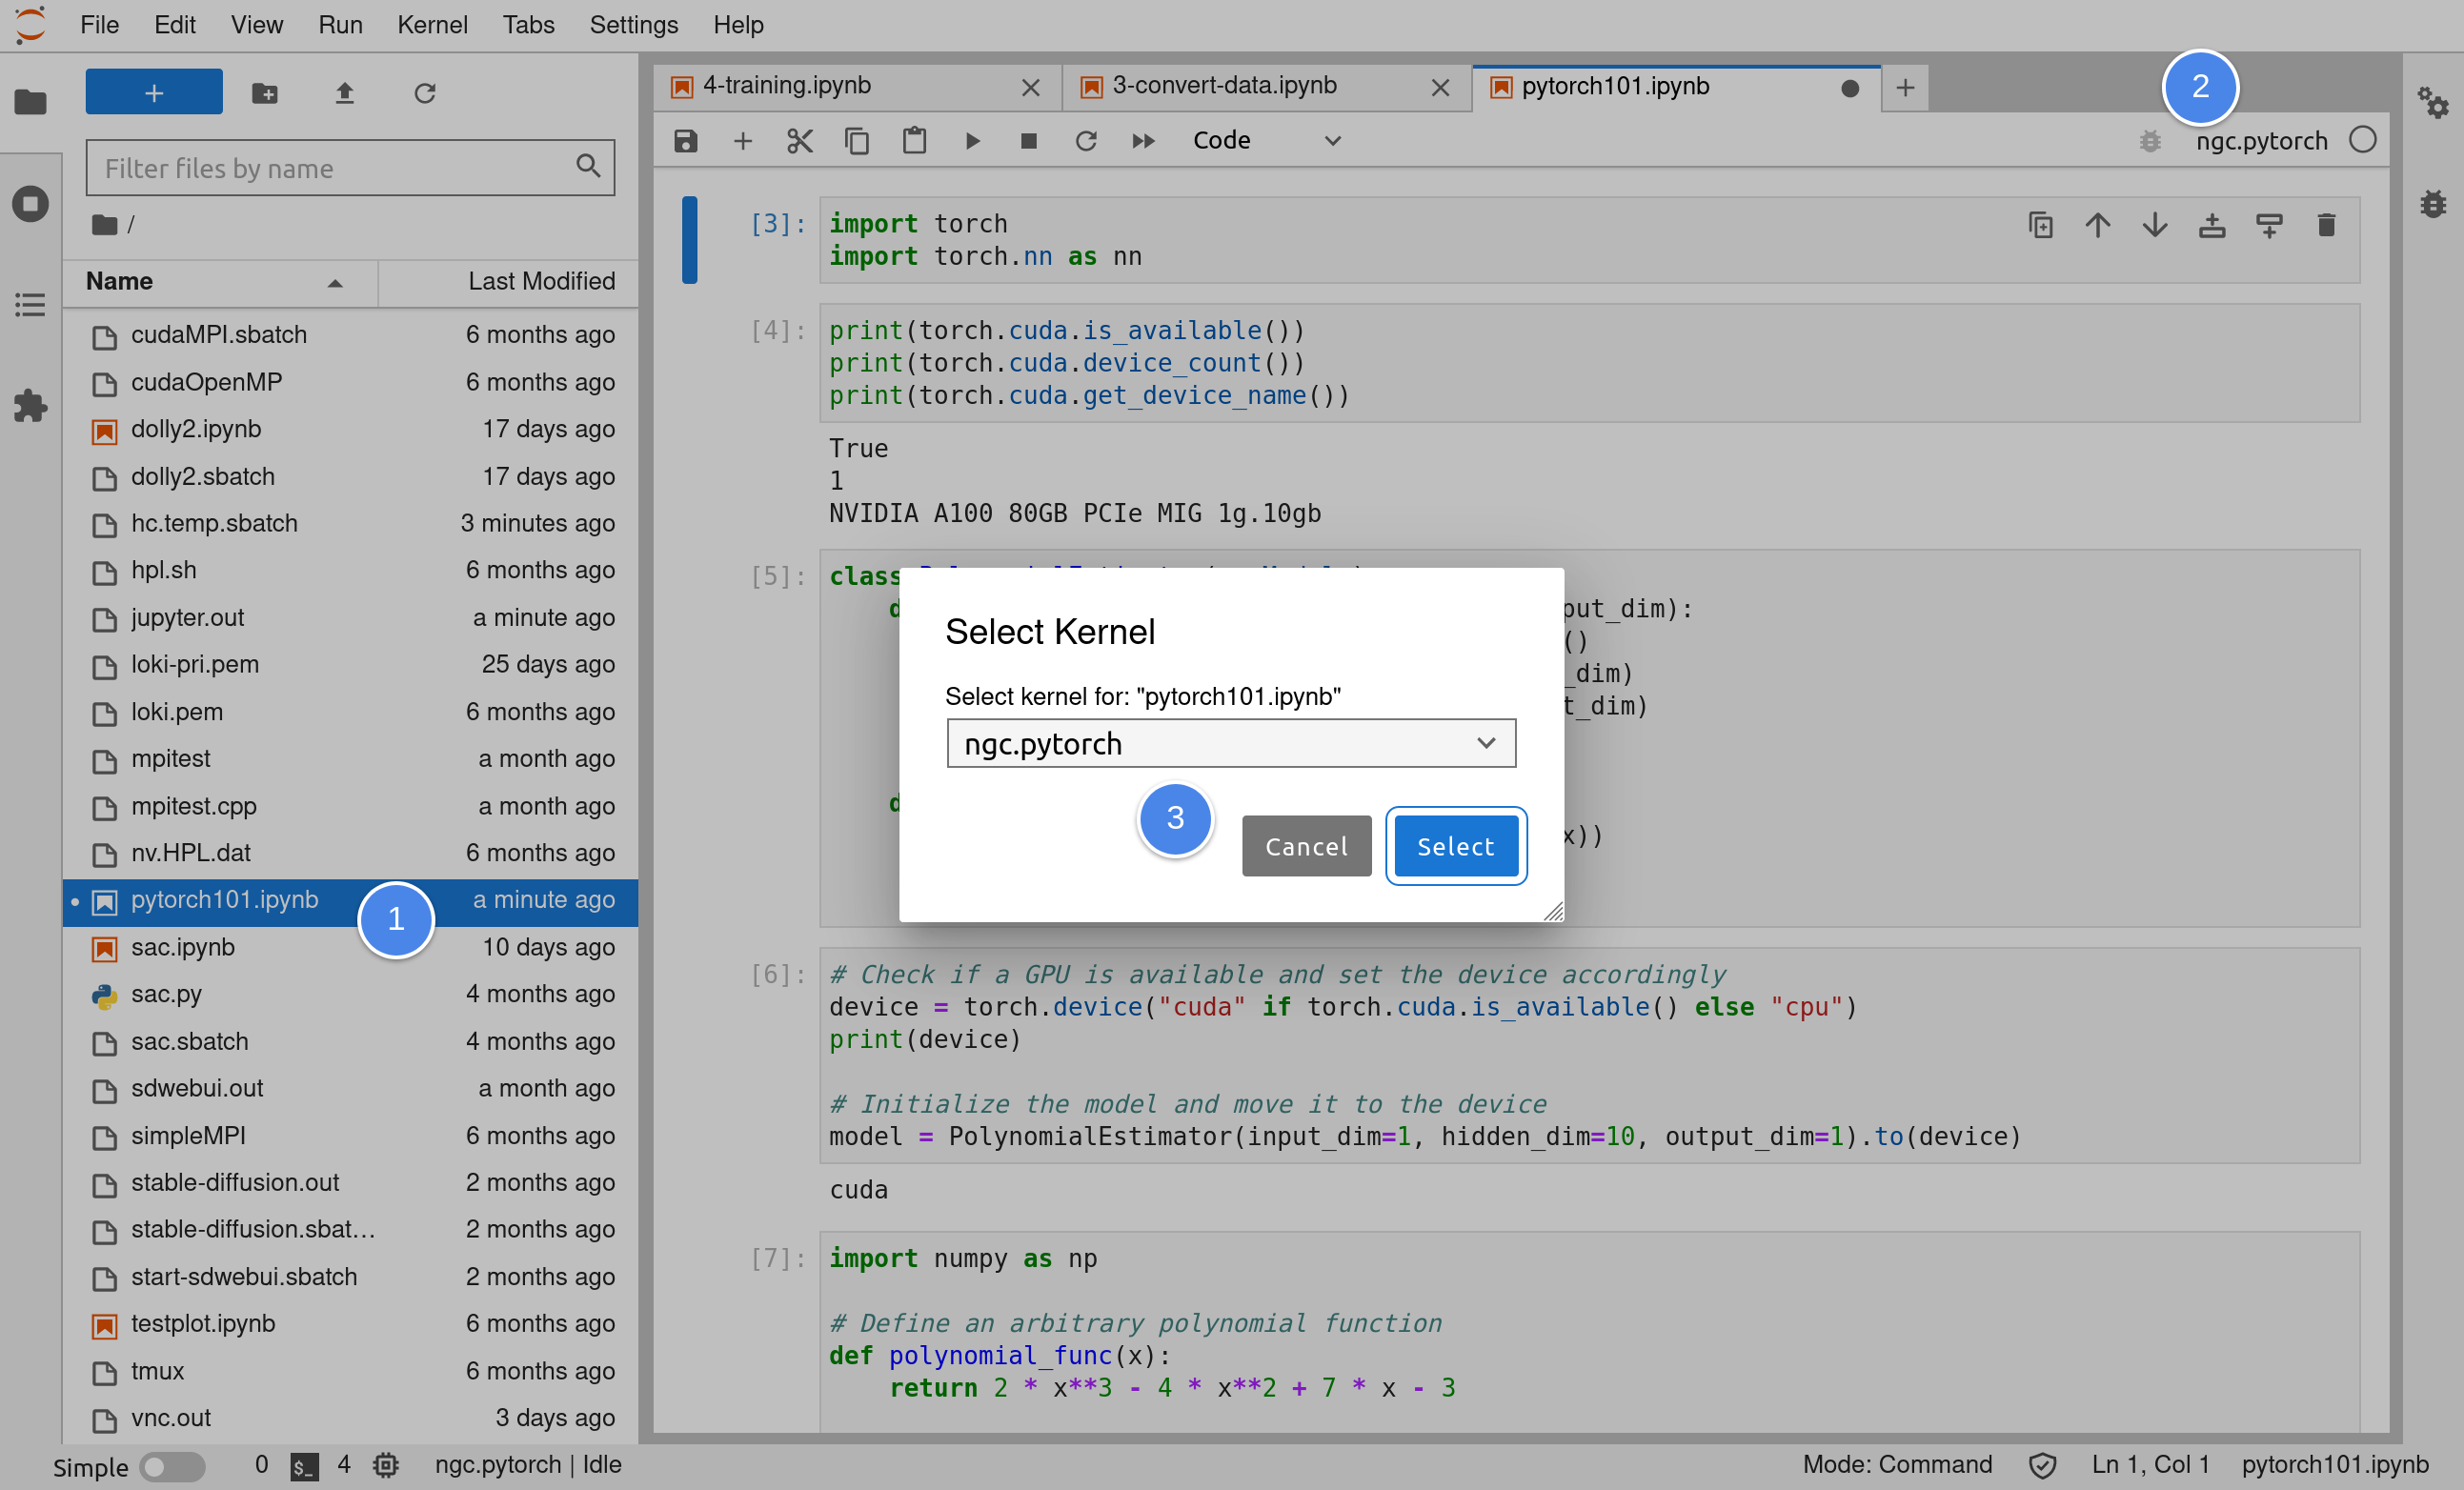
Now copy the notebook we will use in this article and open it with our new kernel.
# go back to the terminal and copy our example notebook
cp /pfss/toolkit/pytorch101.ipynb ./
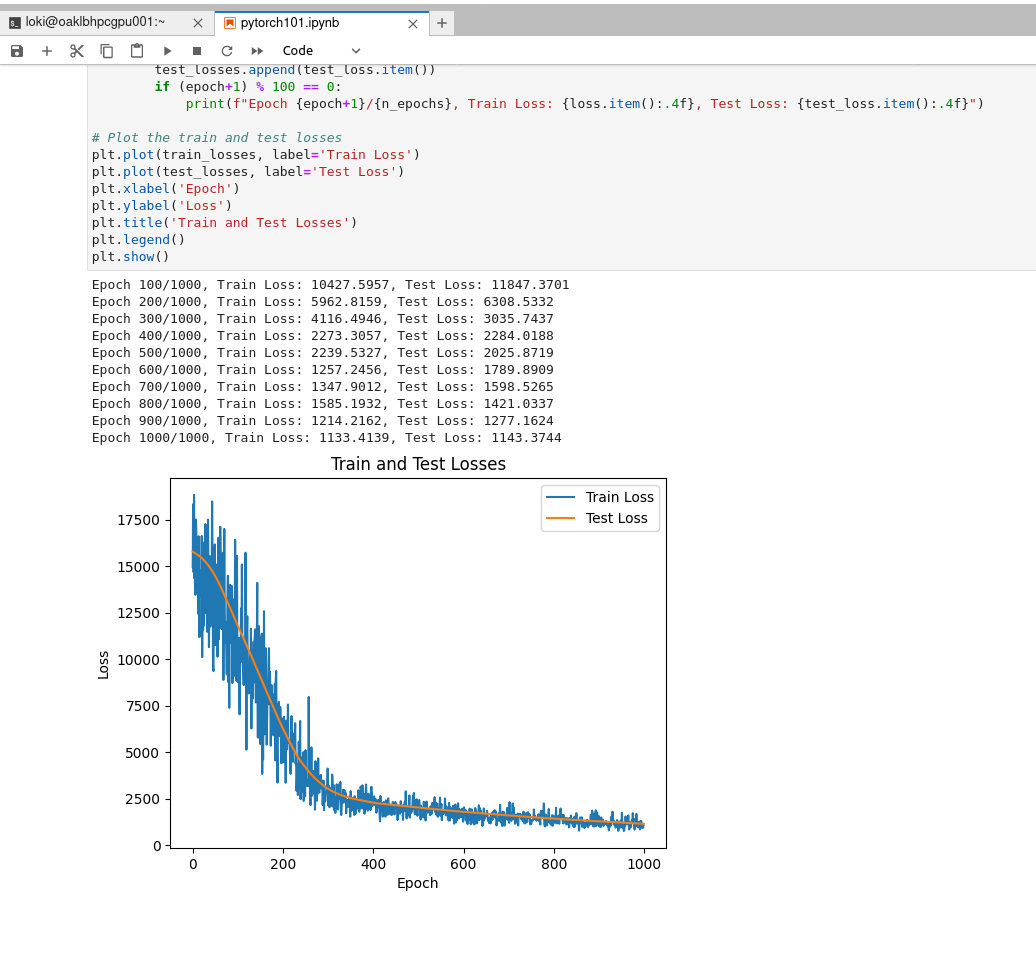
Once you have activated the kernel, you can execute each cell of the notebook and observe the training results, which should appear as shown below.
